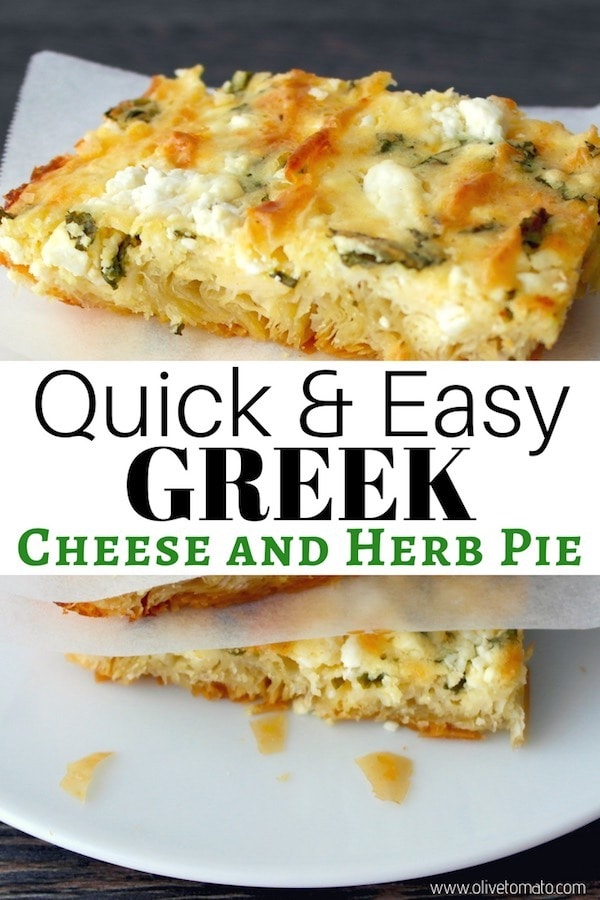
Quick and Easy Greek Cheese and Herb Pie – Patsavouropita
 These type of pies are called patsavouro-pites. Patsavoura means rag in Greek. Doesn’t sound too appetizing, I know, which is the reason I had never made this before. The other day though, I saw someone making this, and it was so good and nothing like I imagined. So, I went ahead and made my own version using only olive oil (no butter), yogurt (lighter), combining feta with fresh mint for the filling and less eggs.
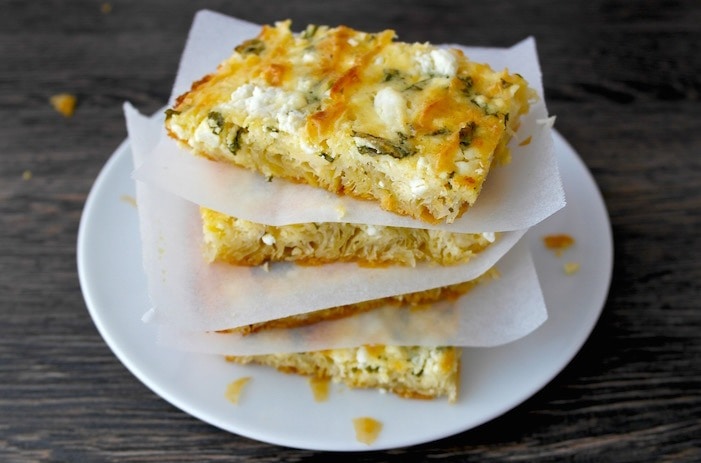
So instead of placing each phyllo on top of each other, you just scrunch up the phyllo on the bottom of a pan, basically throwing the phyllo sheets on the baking dish like rags and thus the name. For added easiness, I used my olive oil spray bottle instead of brushing the phyllo sheets. So once you put the sheets on the bottom of your baking dish, you pour the cheese mixture on top, put in the oven and bake, and that’s it! I was done putting this together in less than 10 minutes.
These were really good and the right combo of crunchy and soft. We had them for a light dinner with a tomato and cucumber salad. You can also add some greens or other ingredients to the cheese mixture as this recipe is very versatile.
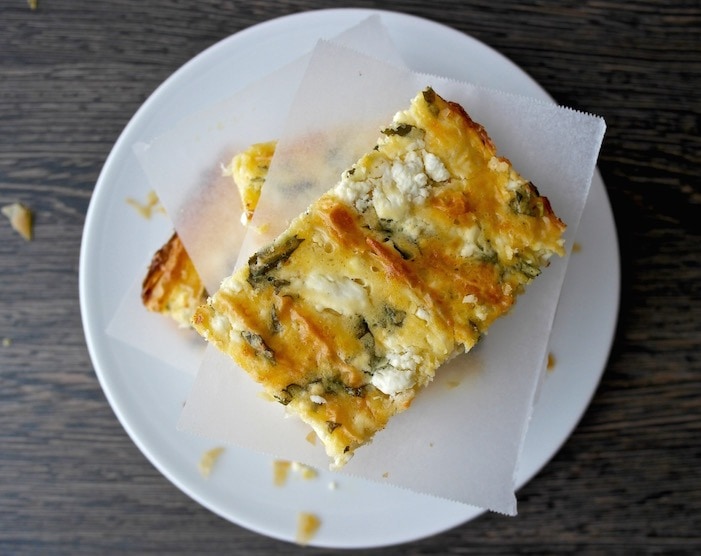
Apart from the ease, I like this recipe because this cheese pie was very light and had less filling then a typical cheese pie.
Quick and Easy Greek Cheese Pie - Patsavouropita
Ingredients
- 5-6 sheets of phyllo
- Olive oil for brushing or spraying plus 1 tablespoon for cheese mixture
- 7 ounces 200 grams crumbled feta cheese
- ¼ cup grated parmesan cheese
- 2 eggs
- 2 tablespoons Greek yogurt
- ½ cup chopped mint
- ¼ teaspoon nutmeg
- Pepper
Instructions
- Preheat the oven at 350 Fahrenheit (180 degrees Celsius).
- Spread phyllo dough sheet on your work surface and brush or spray with olive oil.
- Scrunch like a curtain and place it in the base of 12 x 8 inch pan or baking dish. Continue this with 4-5 more sheets until the base of the pan is covered. Placing one scrunched up sheet next to the other.
- Pre-bake in the oven for about 5 minutes.
- In a large bowl mix the feta, parmesan, eggs, yogurt, pepper, nutmeg, mint and 1 tablespoon olive oil.
- Remove the pan from the oven and pour the mixture over the scrunched phyllo.
- You can sprinkle some additional crumbs of feta on the surface and drizzle with a touch of olive oil.
- Bake for about 30 minutes until top is golden.
- Cut in pieces while warm.
Save for Later and Pin It!
Photos by Elena Paravantes © All Rights Reserved
Hi, this looks wonderful!
Could you please add in the nutritional information?
Could you use fresh pita instead of phyllo? If so, how long would you bake ? I have a market where I am able to purchase fresh made daily pita and thought this would be great on top.
For this recipe, it probably won’t work, but go this recipe which would work much better: https://www.olivetomato.com/feta-and-greek-yogurt-pita-appetizer/
Thank you. I will try it!!
Hi Elana
I really enjoy your blog. We already have pies with veggies and phyllo quite often, but I was wondering how to adapt your lovely pie recipes so that they can be made without egg. Thank you so much.
Hi …. Just found this recipe on the NEW YORK TIMES INSTAGRAM …. It looks amazing !
I am not sure I am understanding ‘HOW to SCRUNCH the PHYLLO” …. Can you describe it
more clear terms ? Or post a picture of how you scrunch/layer it …. MANY THANKS !
Hi Chris, You basically pinch the phyllo so it kind of looks like a curtain or accordion.
I am not a huge fan of mint. Is there another fresh herb you would recommend in it’s place?
I used basil instead and this is the yummiest thing I’ve made in a very long tim!
Thanks for sharing Tiffany, glad basil worked. I was also going to suggest dill too.
Hi Elena, I made this today. It is so quick and easy and absolutely delicious. I know I will make it a lot in the future. Thanks for sharing the recipe.
Thank you Faye! Glad you enjoyed it!
I’m going to make this for the first time this weekend. I bought frozen phyllo dough. There were two sizes and I bought one of each: 9″x14″ and 14″x18″. Which size should I use?
Hi Nichole, I would use the larger size as you will be scrunching it.
I know you say you can spray or brush the phyllo with oil, but I have yet to purchase a refillable olive oil spray bottle that WORKS. I’d buy one if I thought it would work. Can you share what you use?
I do have one, I am not completely happy with mine either but it does the job, as long as you pump it well. I have this brand: http://www.brandani.it/en/products/kitchen/oil-pot-and-jars/57299/olive-oil-sprayer-pc-asscol18-pcs-display
I made this , delicious ! More quick recipes like this please
Thank you Maria!
I have seen a similar recipe but with filo on top and bottom , dies it make much difference? Xx
This pita is considered easier because there is no need to place the phyllo on top and bottom or to be very careful when spreading it, as opposed to traditional pita which has top and bottom. Also there will be a few more calories due to the extra phyllo.
Sorry, but how big or small is 12×8 inch in cm ? I think i will serve this at breakfast for our guests, should I ?
Thank you for the great recepties.
Greetings from Crete,
Dominique
It is approximately 20 x 30 cm. I think it would be great for breakfast.
This looks soooo good. I’ve never worked with phyllo but am willing to give it a try to make this one.
Thanks, Elena.
Tom
Hi Elena,
I am not sure I understand how to put the phyllo. You scrunch a few sheets and you lie them one next to the other? No phyllo on top?
Hi Efi, Yes exactly! There is no phyllo on top, all the filling goes in between the phyllo as it cooks.
Wow! Your blog is improving constantly. The photography with this post is perfect. Very nice work. (I worked as a professional photographer for four decades.) My heart and stroke doctor, because of my health history, has banished eggs from my diet. Following the advice I received from Dr. David Spence, Director of SPARC (Stroke Prevention & Atherosclerosis Research Centre, London, Ontario), I will substitute a product called Egg Creations for the whole egg in your recipe. I have an appointment at SPARC coming up this month (June). I will mention your blog to the doctors at that time. I look forward to the day you release a hold-in-your-hand cookbook. Cheers!
What size pan do you recommend?
Hi Jan, Forgot to add to the recipe, just added now. I use a 12 X 8 inch pan.