Best Homemade Pita Bread
Authentic, homemade pita bread. Enjoy your own soft, light, and delicious pita bread, warm straight out of the oven with this foolproof recipe.
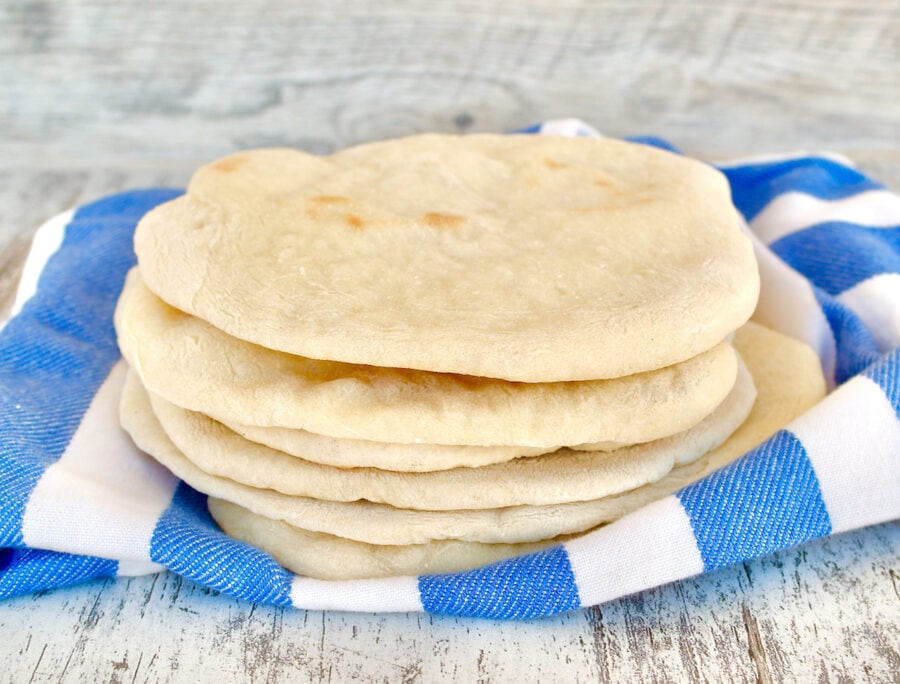
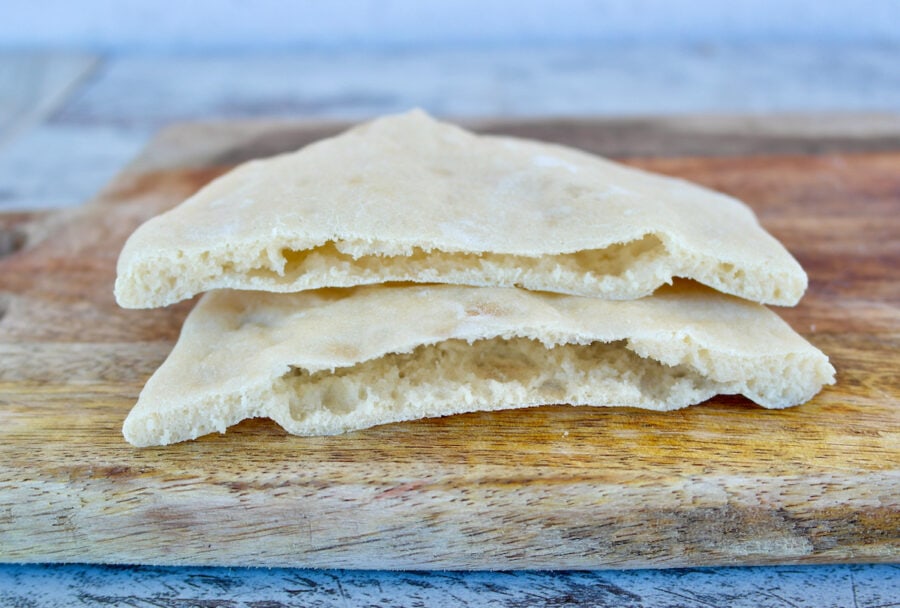
Bread, any type of bread is one of the cornerstones of the Mediterranean diet, and pita bread is a wonderful addition to your diet and meal plan. You may think it is too much trouble, but listen up: first of all, it is a very simple recipe as you will find out, and second, nothing beats the flavor and texture of fresh pita bread compared to store bought. It is soft, tender, and slightly chewy. So good, you can just eat it on its own. And it freezes very well, so you can just defrost as you need it.
How Do You Eat Pita Bread?
Pita bread has multiple uses and can be served in numerous ways. The basic way is as an accompaniment to your meal, for example with salads or vegetable-based dishes. Typically, it will be warmed up just a bit, right before serving. You may serve it cut in small triangles or whole and then just rip pieces as you need them.
Let’s see all the wonderful other ways you can eat pita bread:
- It can be served with a dip such as Authentic Tzatziki, Black Olive Tapenade, Taramosalata, Lentil Dip with Tahini and Lemon, Greek Spicy Whipped Feta Cheese
- It can be toasted and crushed and added to salads as a type of crouton
- It can be used as a base/crust for an appetizer or snack such as : Greek Roasted Veggie Pita Pizza, Easy Pita Bread Greek Cheese Pie – Tiropita, Feta and Greek Yogurt Pita Appetizer, Mediterranean Pita Pizza with Tahini Sauce
- Of course, it can be used to wrap your souvlaki, such as this juicy chicken souvlaki
- It can be used as a wrap filled with veggies and cheese
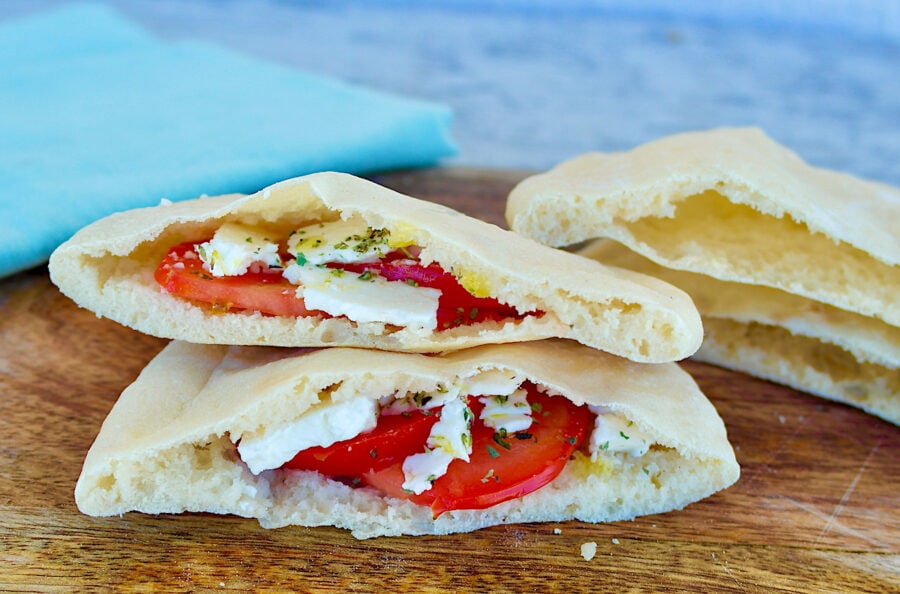
- You can fill out the pockets for pita sandwiches
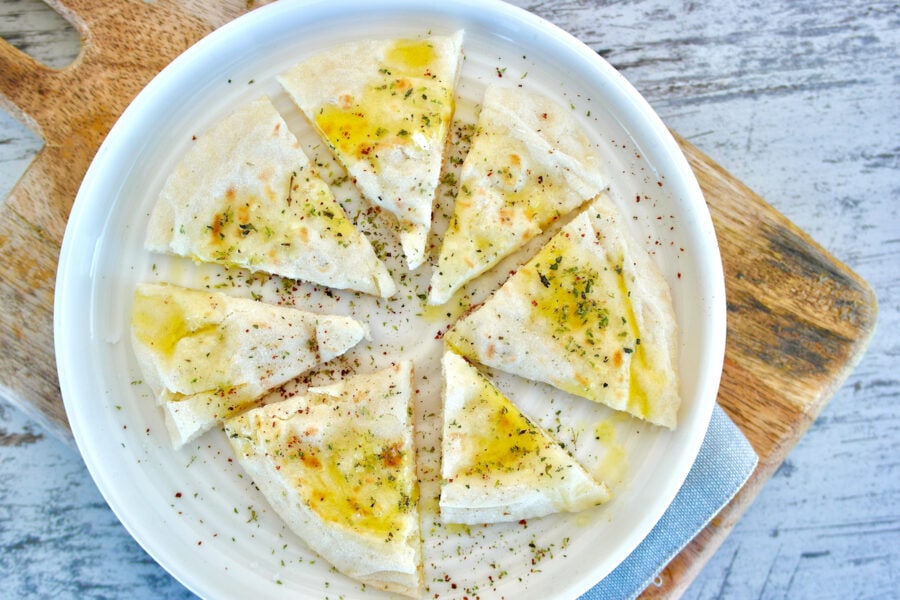
- My favorite way is to toast it and drizzle with olive oil, coarse salt, and oregano. Yum!
Pita Bread Ingredients
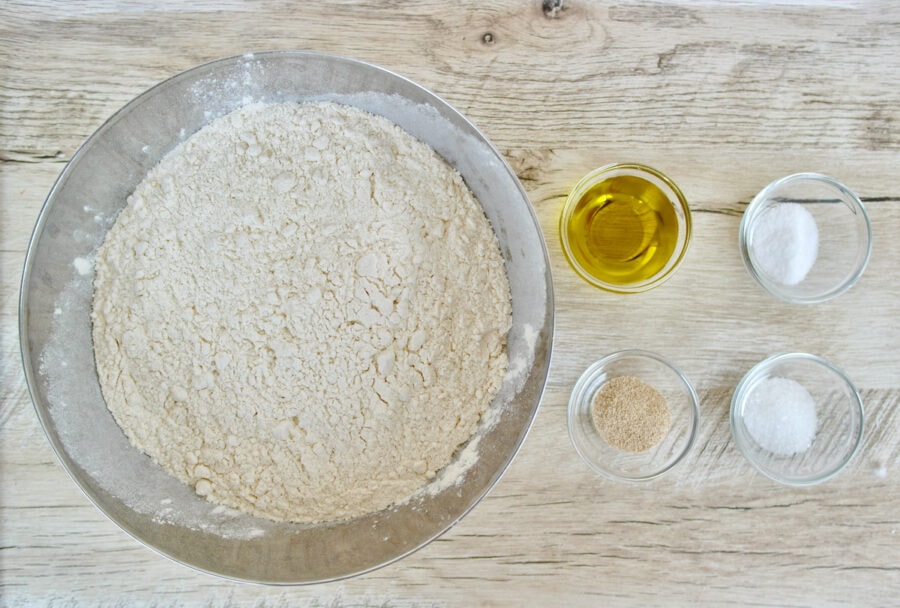
We need to note that true pita bread does not contain yogurt, honey, or eggs and no olive oil either (just a bit to prevent the dough from sticking).
- Yeast: I use dry yeast (not instant) and lie to proof it before, just to make sure that my yeast is active. You may use instant if you are used to it.
- Flour: All-purpose flour works fine here. You can also mix the flours and use whole wheat flour.
- Salt: I do not add much salt, and you can probably add even less. Do not add more as this may prevent the dough from rising.
- Sugar: A bit of is needed to provide food for the yeast to get it going.
How to Make Pita Bread-Step by Step Instructions
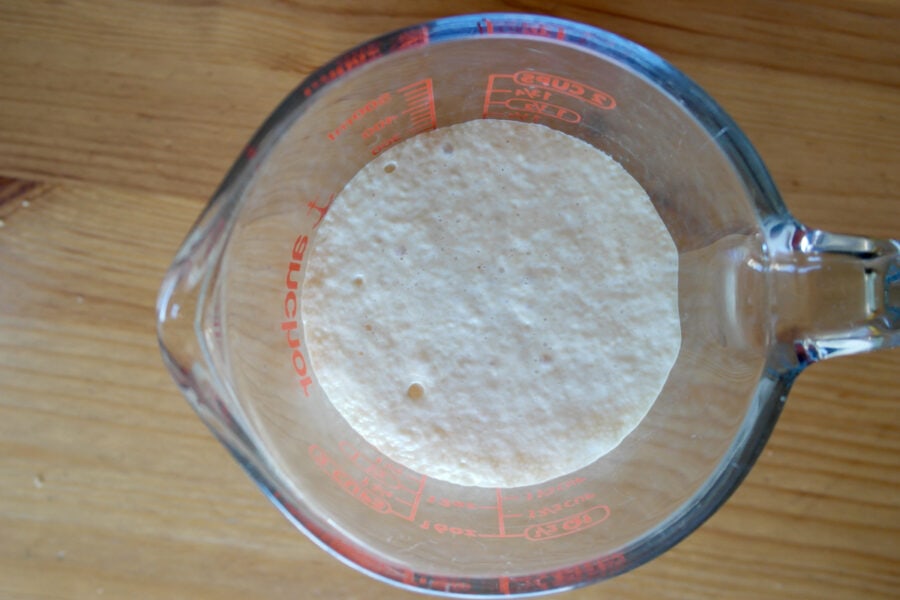
1. First proof the yeast.
In 1 cup warm water 110-115 F (43- 46 C), dissolve the sugar, sprinkle the yeast, and mix gently. Let it sit for 10 minutes, you should see foam and small bubbles appear, that means the yeast is active, if you do not see any bubbles the yeast is past its prime. Try with new yeast.
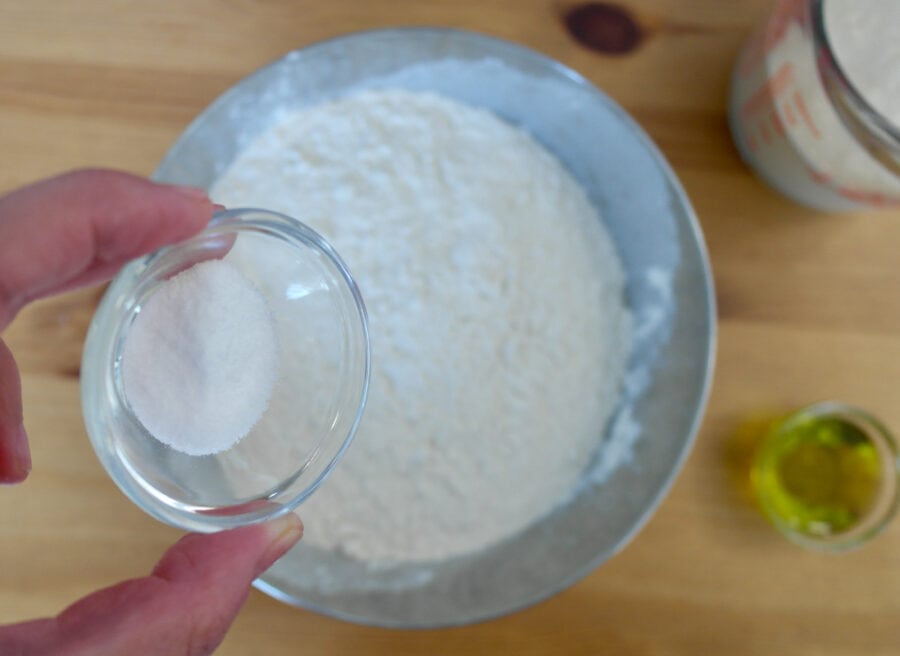
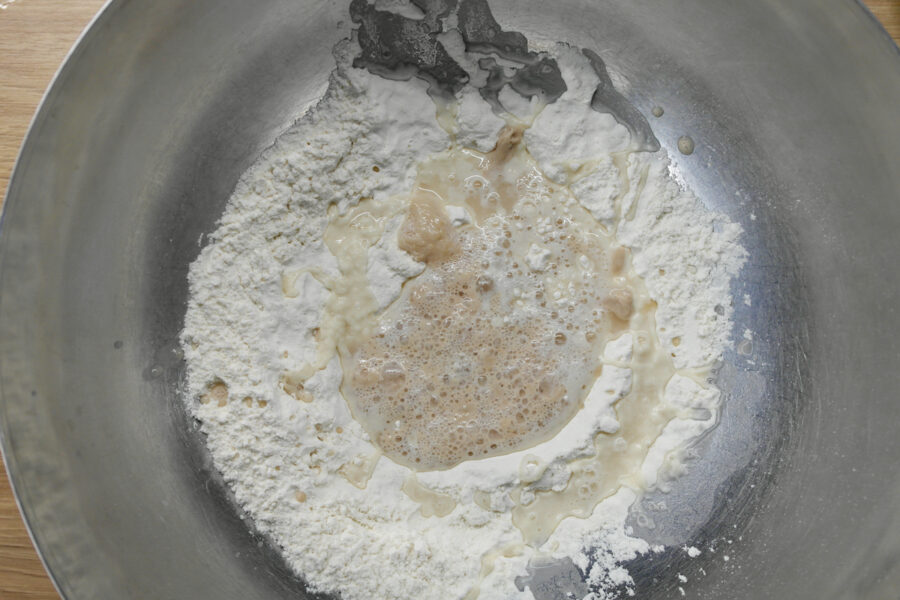
2. In a bowl mix the flour with the salt: Once the yeast has been proofed, add it to the flour.
3. Knead the dough
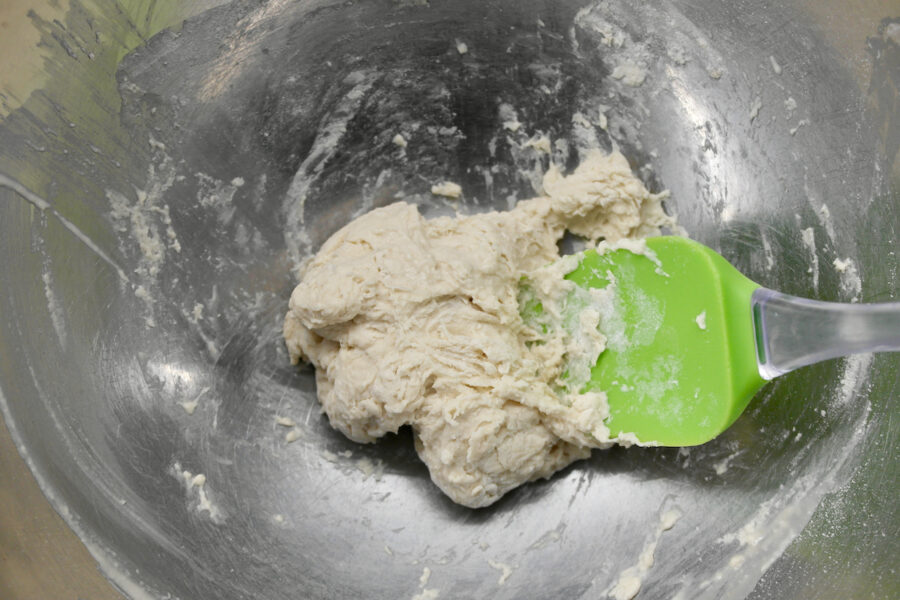
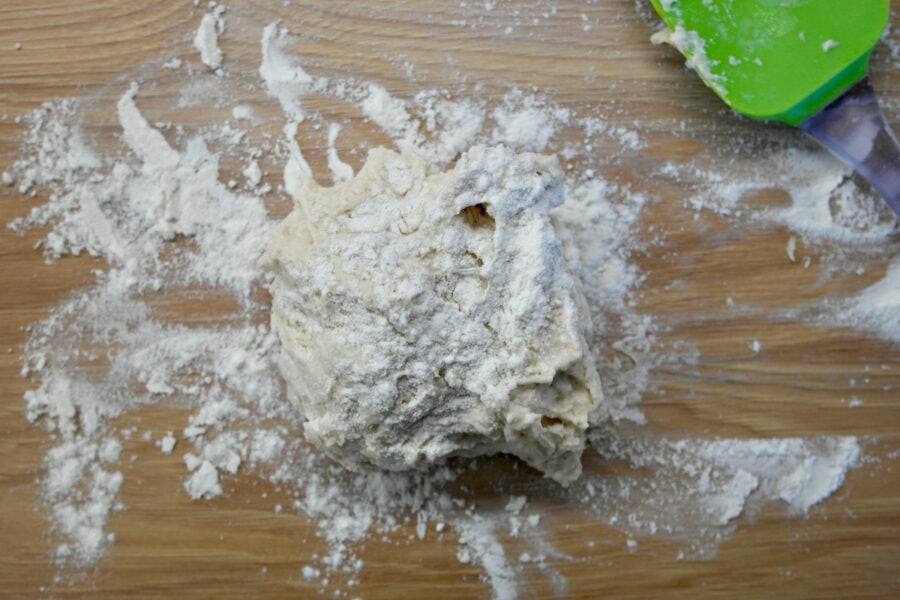
With hands: Stir with a spoon or spatula until all the ingredients have been combined and you have a piece of dough. Place the piece of dough on a floured surface, sprinkle with some flour and knead 5-6 minutes until you have smooth piece of dough. It will be smooth and a bit of sticky. Be careful not to add too much flour.
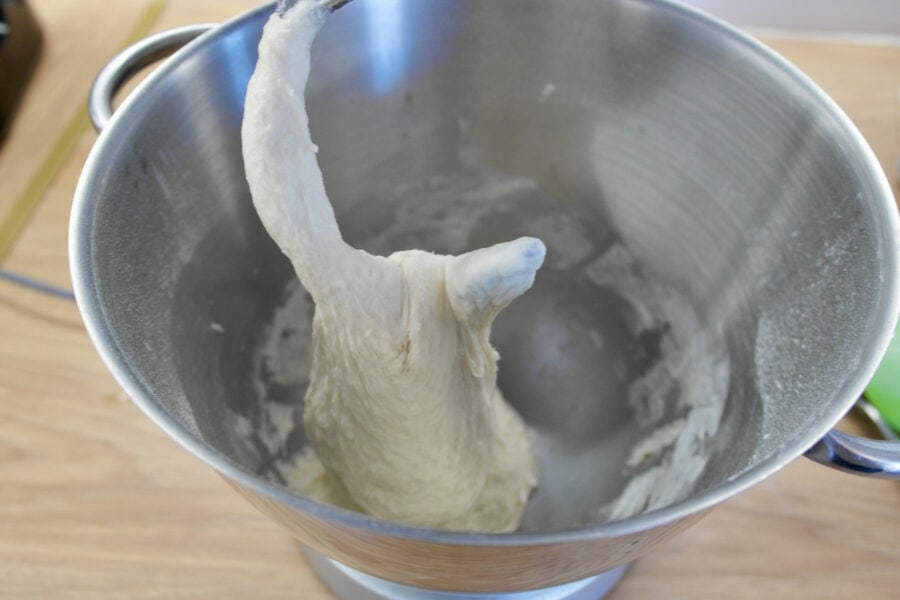
With a mixer: Place the flour in the mixer, and then in the middle the proofed yeast-water mixture. Mix on low-medium, until the dough begins to unstick from the sides (it may still stick on the bottom). Remove and place on a floured surface and roll into a ball.
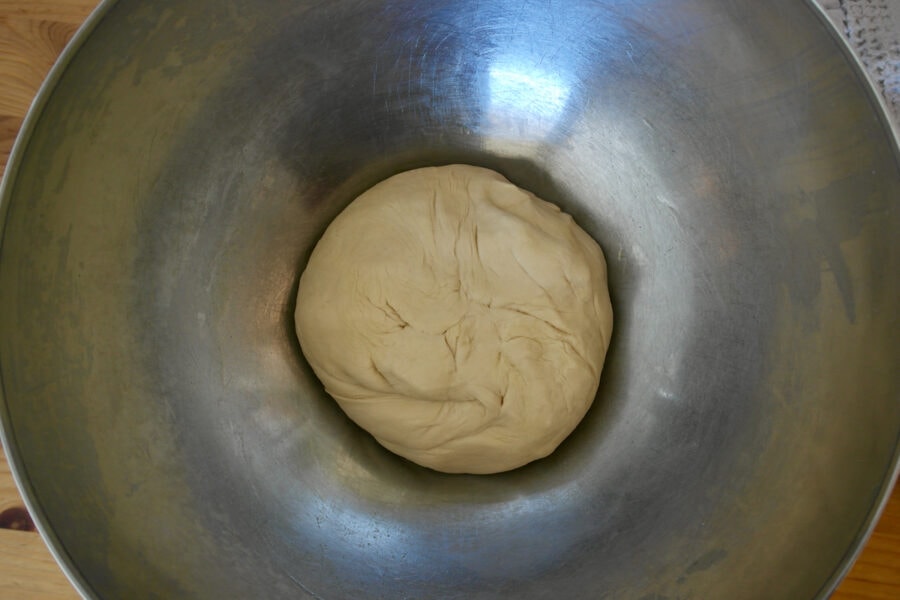
4. Prepare the dough to rest
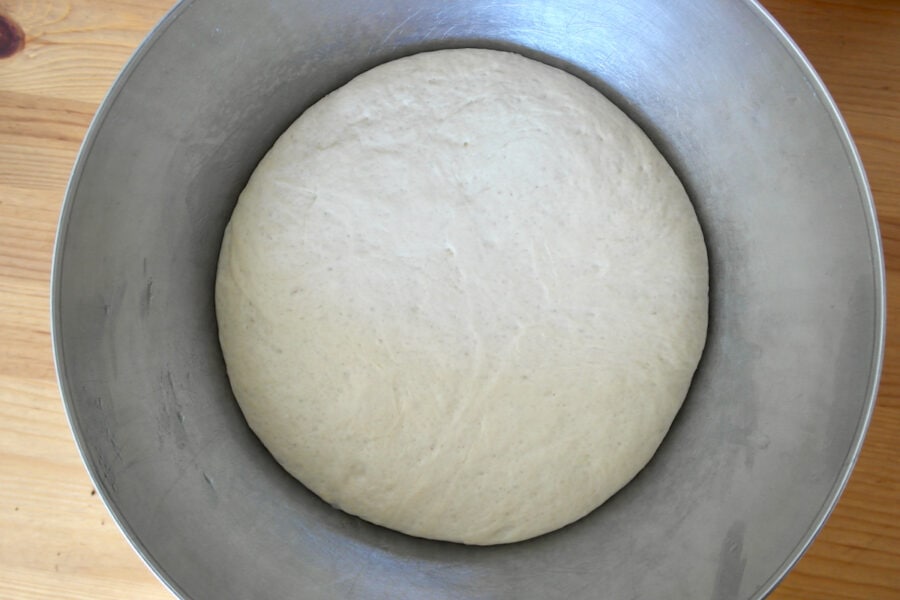
Grease a bowl with olive oil and twirl the dough around so it is lightly coated with the olive oil. Cover the bowl with plastic wrap and then with a towel. Place it in a warm space until it doubles in size. (If it is a bit cold-you can turn on the oven at 30-35 C).
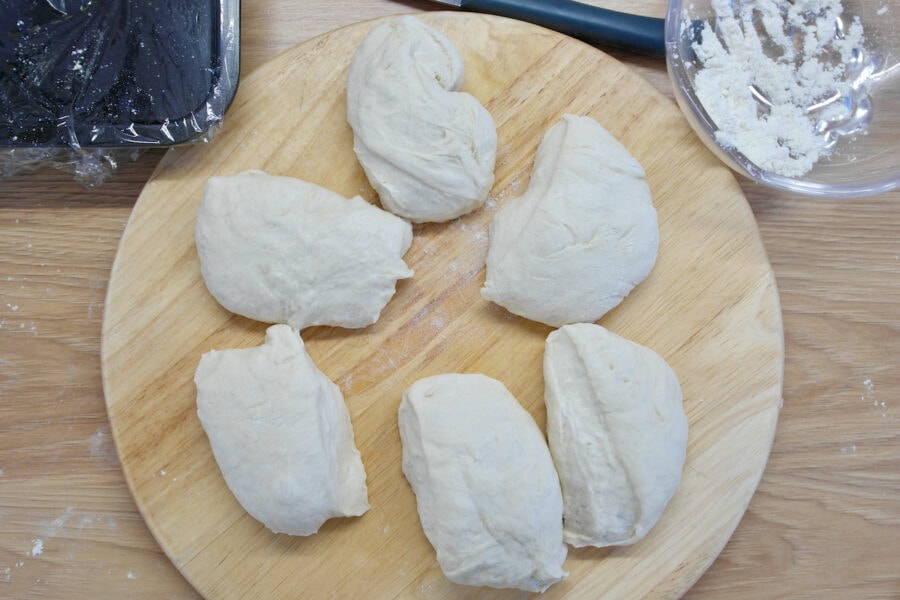
5. Shape the dough.
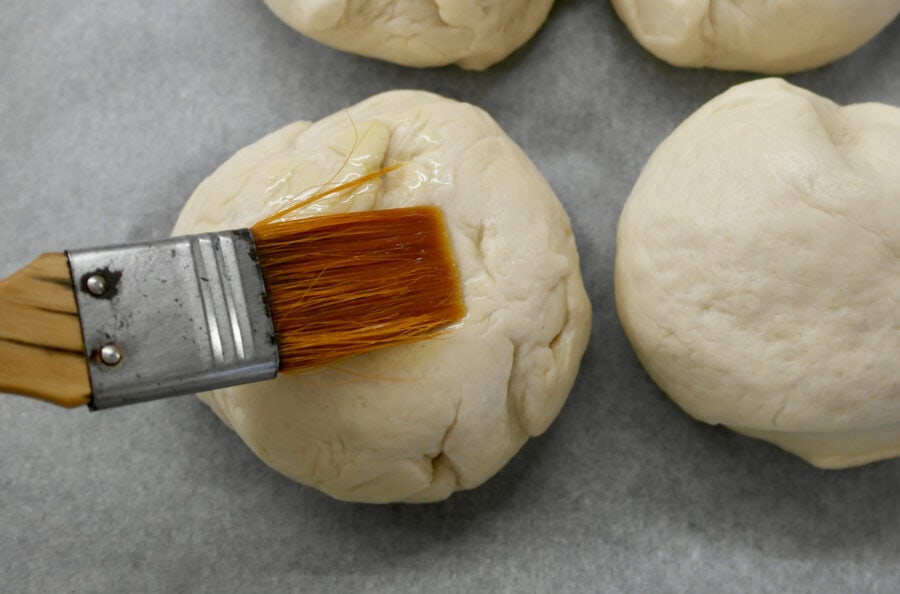
Once the dough has risen, deflate it a little and place it on a floured surface. Gather it with your hands and bring it together. Separate it in 6-8 pieces. Gently knead each piece for a half a second and roll it into a ball. I place the dough on my working surface, cup my hand and cover the dough (with my hand) keeping the bottom of my palm on the surface and slowing moving my hand in circular motion). Place the balls on a plate or pan, brush with a bit of olive oil and cover with a towel, let them sit for 10 minutes.
7. Bake the pita.
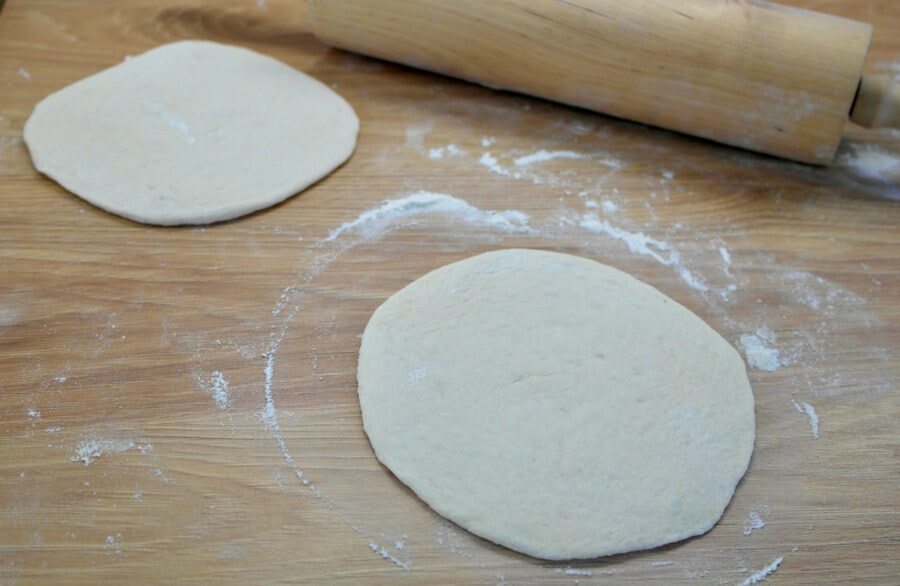
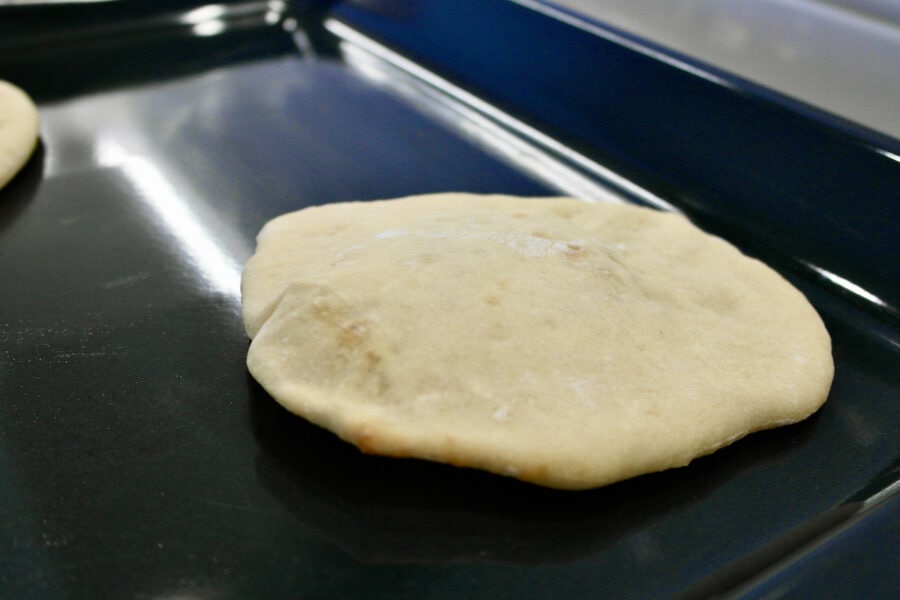
Pre-Heat your oven to 500 degrees F (260 C), with the pan you are using inside the oven. Make sure your oven is hot when you place the dough on the pan, the oven needs to be hot. Take a dough ball (keep the others covered) and flatten the dough ball with your fingers and then with a rolling pin roll out in a 6-inch circle. Do not overly roll out your dough. Once you have 2 dough circles ready, place them on the hot pan and place them in the oven. Bake for 3-4 minutes, you should see them puffing up. Remove from the pan and cover with a towel. Repeat with the rest of the balls.
Pita Bread Dough Tips and Tricks
Below include steps for kneading the dough by hand and by mixer, personally I found that kneading by hand was less cumbersome in a way, and I had a better feel for the dough.
- So, the dough will be a bit sticky and soft. Here in Greece, we like to describe the softness of the dough like the texture of your earlobe.
- If you put it in a mixer, you want to mix until the dough begins to not stick on the sides (it may still stick on the bottom), then you will remove it and roll it into a ball.
- Once it has risen don’t overly roll it out or knead too much. Gently deflate it and roll it into balls. When rolling out, start spreading it out first with your fingers and then spread out with a rolling pin.
Getting the Pita Bread to Puff Up
- Make sure your oven or pan is very hot. It needs to be 500 F (260 C), preheated, so once it reaches that temperature, wait another 5 minutes to warm up completely. If you are using the stove top, the pan needs to be pre-heated as well.
- Roll out the pita about ¼ inch thick, if it is thicker than that it will have a more difficult time puffing up.
- Roll it out evenly, otherwise it may partially puff up.
- Do fold over or cut the dough, this cause air to escape.
Is Pita Bread Healthier Than Bread?
Well, this depends on a lot of factors. The first one being the type of flour used. Whole grain flour provides extra fiber to any bread product. Both products if made from scratch contain only flour, yeast, and salt. Pita is thinner and so you can make a sandwich and potentially consume less calories.
Prepare Pita Ahead, Storing and Freezing
You can make the pita dough ahead of time and store it before baking, let’s see how to store.
Storing Pita Dough in the Refrigerator:
Once it has risen and shaped into balls, you can place it in freezer bags and store for about 1 week.
Storing Pita Dough in the Freezer
You can also freeze unbaked pizza dough. Once it has risen and shaped into balls, place them on a pan lined with parchment paper and freeze until solid, then remove and place in freezer bags.
-Storing Baked Pita Bread-
Refrigerator: Once it has been baked and cooled down, place pita in a Ziplock back and store in the refrigerator for up to 5-6 days, on the counter up to 3 days.
Freezer: Put the pitas in a pile, placing a piece of parchment paper between them and put them in an airtight bag. To defrost, just heat up in a toaster.
Gluten Free and Whole Wheat Pita Bread
- For gluten free pita bread, you just substitute with gluten free flour in the place of regular flour.
- For whole wheat pita bread, you substitute half of the flour with whole wheat flour.
Recipes You Can Make with Pita Bread
Pita bread is great as a bread accompaniment and for dipping, but I use it as a crust for a variety of recipes!
–Greek Roasted Veggie Pita Pizza
–Easy Pita Bread Greek Cheese Pie – Tiropita
–Feta and Greek Yogurt Pita Appetizer
–Mediterranean Pita Pizza with Tahini Sauce
Want More Mediterranean Diet Guidance? Get my top-rated book!
Get it here >> The Mediterranean Diet Cookbook for Beginners

Best Homemade Pita Bread

Ingredients
Instructions
- Proof the yeast: In 1 cup warm water 110-115 F (43- 46 C), dissolve the sugar, sprinkle the yeast, and mix gently. Let it sit for 10 minutes, you should see foam and small bubbles appear, that means the yeast is active, if you do not see any bubbles the yeast is past its prime. Try with new yeast.
- In a bowl mix the flour with the salt: Once the yeast has been proofed, add it to the flour.
Prepare the dough
- If kneading by hand: Stir with a spoon or spatula until all the ingredients have been combined and you have a piece of dough. Place the piece of dough on a floured surface, sprinkle with some flour and knead 5-6 minutes until you have smooth piece of dough. It will be smooth and a bit of sticky. Be careful not to add too much flour.
- If you are using a mixer: Place the flour in the mixer, and then in the middle the proofed yeast-water mixture. Mix on low-medium, until the dough begins to unstick from the sides (it may still stick on the bottom). Remove and place on a floured surface and roll into a ball.
Let the Dough Rise
- Grease a bowl with olive oil and twirl the dough around so it is lightly coated with the olive oil. Cover the bowl with plastic wrap and then with a towel. Place it in a warm space until it doubles in size. (If it is a bit cold-you can turn on the oven at 75 Fahrenheit-30 Celsius).
Shape the dough
- Once the dough has risen, deflate it a little and place it on a floured surface. Gather it with your hands and bring it together. Separate it in 6-8 pieces.
- Gently knead each piece for a half a second and roll it into a ball. I place the dough on my working surface, cup my hand and cover the dough (with my hand) keeping the bottom of my palm on the surface and slowing moving my hand in circular motion).
- Place the balls on a plate or pan, brush with a bit of olive oil and cover with a towel, let them sit for 10 minutes.
- Pre-Heat your oven to 500 degrees F (260 C), with the pan you are using inside the oven. Make sure your oven is hot when you place the dough on the pan, the oven needs to be hot.
- Take a dough ball (keep the others covered) and flatten the dough ball with your fingers and then with a rolling pin roll out in a 6-inch circle. Do not overly roll out your dough.
Bake the dough
- Once you have 2 dough circles ready, place them on the hot pan and place them in the oven. Bake for 3-4 minutes, you should see them puffing up. Remove from the pan and cover with a towel. Repeat with the rest of the balls.If baking on the stovetop. Heat the pan for a few minutes until it is hot. Place the dough and heat for about 2 minutes on each side.
Notes
Prepare Pita Ahead, Storing and Freezing
You can make the pita dough ahead of time and store it before baking, let’s see how to store. Storing Pita Dough in the Refrigerator:Once it has risen and shaped into balls, you can place it in freezer bags and store for about 1 week. Storing Pita Dough in the Freezer
You can also freeze unbaked pizza dough. Once it has risen and shaped into balls, place them on a pan lined with parchment paper and freeze until solid, then remove and place in freezer bags. -Storing Baked Pita Bread- Refrigerator: Once it has been baked and cooled down, place pita in a Ziplock back and store in the refrigerator for up to 5-6 days, on the counter up to 3 days.
Freezer: Put the pitas in a pile, placing a piece of parchment paper between them and put them in an airtight bag. To defrost, just heat up in a toaster.
Gluten Free and Whole Wheat Pita Bread
- For gluten free pita bread, you just substitute with gluten free flour in the place of regular flour.
- For whole wheat pita bread, you substitute half of the flour with whole wheat flour.
Delicious recipe!
Question: you recommend using half whole wheat flour (and half all-purpose white) as a whole wheat alternative. Is there any reason why I couldn’t just use 100% whole wheat flour?
HI, I recently bought a cast iron pan to use on the stove top. If I make the pittas this way do I need to oil the pan at all first? Thanks, Sarah
Delicious! Warm and soft. I ate it with kalamata olives, olive oil and oregano. I never knew how easy it was to make. A great way to wow my friends.
Delicious! Mine did not pouf up and make a pocket, but it was still so good. Next time I’ll try cooking them in cast-iron on the stovetop; maybe the direct heat will make them form pockets. Either way, this stuff is delicious.
Hi Elena,I am thrilled to find yur website. I have been on a mediterranean diet of my own creation for about six months. Now I found your adorable website and I bought the kindle version of your cookbook. (I have vision issues and Kindle allows me to increase the font size). I have an IBS website and your book willbe on there for my followers to use. All your recipes are so so authentic which is more than I can say for the so-called Mediterranean cookbooks I bought on Amazon. It is very easy for me to substitute low fodmap veggies for some of the more high fodmap ones that hurt my IBS folks including me. Love love your website.
I too have IBS and am interested in the name of your website.
Sorry that should be “can the recipe be modified” …
Can the recipe so the dough can be made in a breadmaker. Thankyou